A bit Intro of Brave Browser

The project I picked for release 0.2 is the Brave Browser. Many of you may wonder what special about it. So do I. IMO, Chrome and Firefox are two dominating browsers in the mainstream of web. How come a newborn browser influences and attracts so many people to contribute.

Let’s have a look at the feature highlight from the official:

Browse faster by blocking ads and trackers that violate your privacy and cost you time and money.

Ad Block, cool! Seems Brave has included a bunch of pleasant extensions into the system. Well, we could use extensions in Chrome too, why bother?

The real interesting yet controversial topic is the mechanism of the Ad Block. Instead of the traditional third-party advertising, users can now donate their BAT to those most visited sites using Brave Payment as the rewards for the content publishers.

I don’t know much about how advertisements profit on the web, but the idea of publisher-advertiser-user eco-system seems very appealing. It may have a huge impact on the browser ecology, who knows.

If you feel like getting involved, here’re some helpful info:
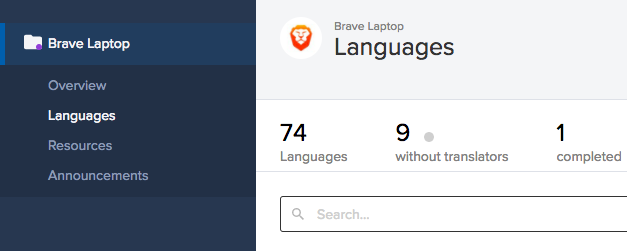
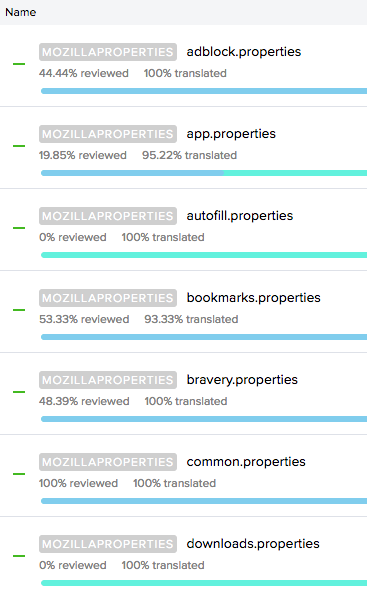
Happy Contributing 🙂

Contribute to Open Source as A Translator

As our release 0.2 requested, we are asked to contribute to an existing open source project on Github. The challenge for us is actually to find a suitable bug/issue (Good First Issue) to work on since most of us are newbies to open source.

As for me, I end up picking the localization as my main goal to contribute. I have been looked into the Brave project for a while (browser-laptop ver). Surprisingly, the translation for Chinese (China) isn’t fully completed yet (about 80% for zh_cn). Also, most of the work was done by 5 translators 2 years ago, and no more maintenance since then. Compared to VSCode, you will notice there is still not much attention for the Brave browser in China, perhaps people don’t even aware of the project is open.

Well, I thought it might be worthwhile doing it. Let’s take a look at how we can contribute to translation.

  1. Create a Transifex account
  2. Join an existing project – Brave Laptop
  3. Pick a language – Chinese (China)
  4. Join a team – Team 1

Transifex lets the project utilizing their API to store the content into a platform (file system) where translators and collaborators can do their work. After translation, the project can just pull the translated content back to their repo.

After you have access to the project, you will be assigned to the translator role:Screen Shot 2018-03-26 at 2.36.48 AM

Heading to the project page, under language tab, search your desired language:Screen Shot 2018-03-26 at 3.01.44 AM

After selecting the language, you will see the content is grouped into various properties. Click on any property to start translating 🙂Screen Shot 2018-03-26 at 3.06.58 AM.png

You can check your recent activities by viewing your profile. After your translation, your job is mostly done. The project will pull the translation files based on their release. Screen Shot 2018-03-26 at 2.41.36 AM

Overall, the translation process is pretty straightforward, but I think it will be rewarding for the community later on. As more translation get going, more people will be noticed and get involved, which brings more end users, and more feedback will be provided to the project.

Localization work seems so easy that gets underestimated sometimes. In open source, anything open will eventually create the snowball effect and get more attention, so there’s also no exception for languages.

Play with Front-end JavaScript (Map)

This week, we are asked to implement dark mode for the bridge-troll project.

After reading through the feature request, there’re several interesting things involved. Leaflet, an open-source JavaScript library for mobile-friendly interactive maps, looks totally awesome. While SunCalc is an open source JavaScript library for calculating sun conditions for the given location and time. And the Material icons are used to represent the marker on the map.

Let’s get started with forking and cloning the repo. Follow the ReadMe to run the app. All looks good, successfully getting my current location and also shown a bridge nearby (bridges are shown as locks).

Screen Shot 2018-03-19 at 4.48.47 PM.png
initial display (day mode)

Steps to follow:

A) show a new tile
Click me to find a leaflet provider. After choosing your preferred tile, update your code to use the new tile URL in the current map:

const tileUrl = 'https://cartodb-basemaps-{s}.global.ssl.fastly.net/dark_all/{z}/{x}/{y}.png';

B) makes it automatically
In order to accomplish it, we use SunCalc library to do the job. By calculating the Sunlight times, these two properties look promising to work on our logic sunsetStart✓ & sunriseEnd✓. All we need is just to compare the current time with them.

npm install suncalc --save

C) isolate the logic
It’s always a good idea to keep things modularized, which will make our life easier for future and increase readability. So our logic will probably end up like this in a file:

// theme.js

const SunCalc = require('suncalc');
let setMode = (lat, lng) => {
  // do your calculation
  SunCalc ...
};
module.exports = { setMode };

After enabling the auto switching, we also would like to update our material icons to the new tile. Currently, all the icons are specified in svg-marker.js and exported as const variables.

Instead of putting the logic inside the svg-marker.js file, we will continue using our theme.js as a wrapper to return the proper markers. Don’t forget to update any code utilizing the svg-marker.js.

D) clean-up
Run the following commands to style your code:

npm run eslint
npm run prettier


Screen Shot 2018-03-19 at 6.02.13 PM

After fixing any ESLint error, you’re good to go!


Link to my fix & the final result:

Screen Shot 2018-03-19 at 6.09.15 PM
dark mode

Note: for now, it only supports mode change on start-up, need to fix using EventEmitter for switching on the fly.